For 80 years and four generations, UST Brands has provided reliable, affordable problem-solving gear to customers worldwide. By maintaining the highest standards in quality and service, our innovative products have been saving the day since 1936.
The Paracord and the FlashBlade Multi-Tool are two seemingly very different, yet equally useful items to have in your pack, both fit nicely into any pack and can be useful in many situations. It was only a matter of time before we would find a way to combine these two great tools into something even better, and that is how the Multifunctional Multi-Tool Case was born. Creating a useful paracord into a case for your multi tool will keep it safe and easily accessible with an attached carabiner, ensuring that you will always have paracord when you need it.
Step 1:
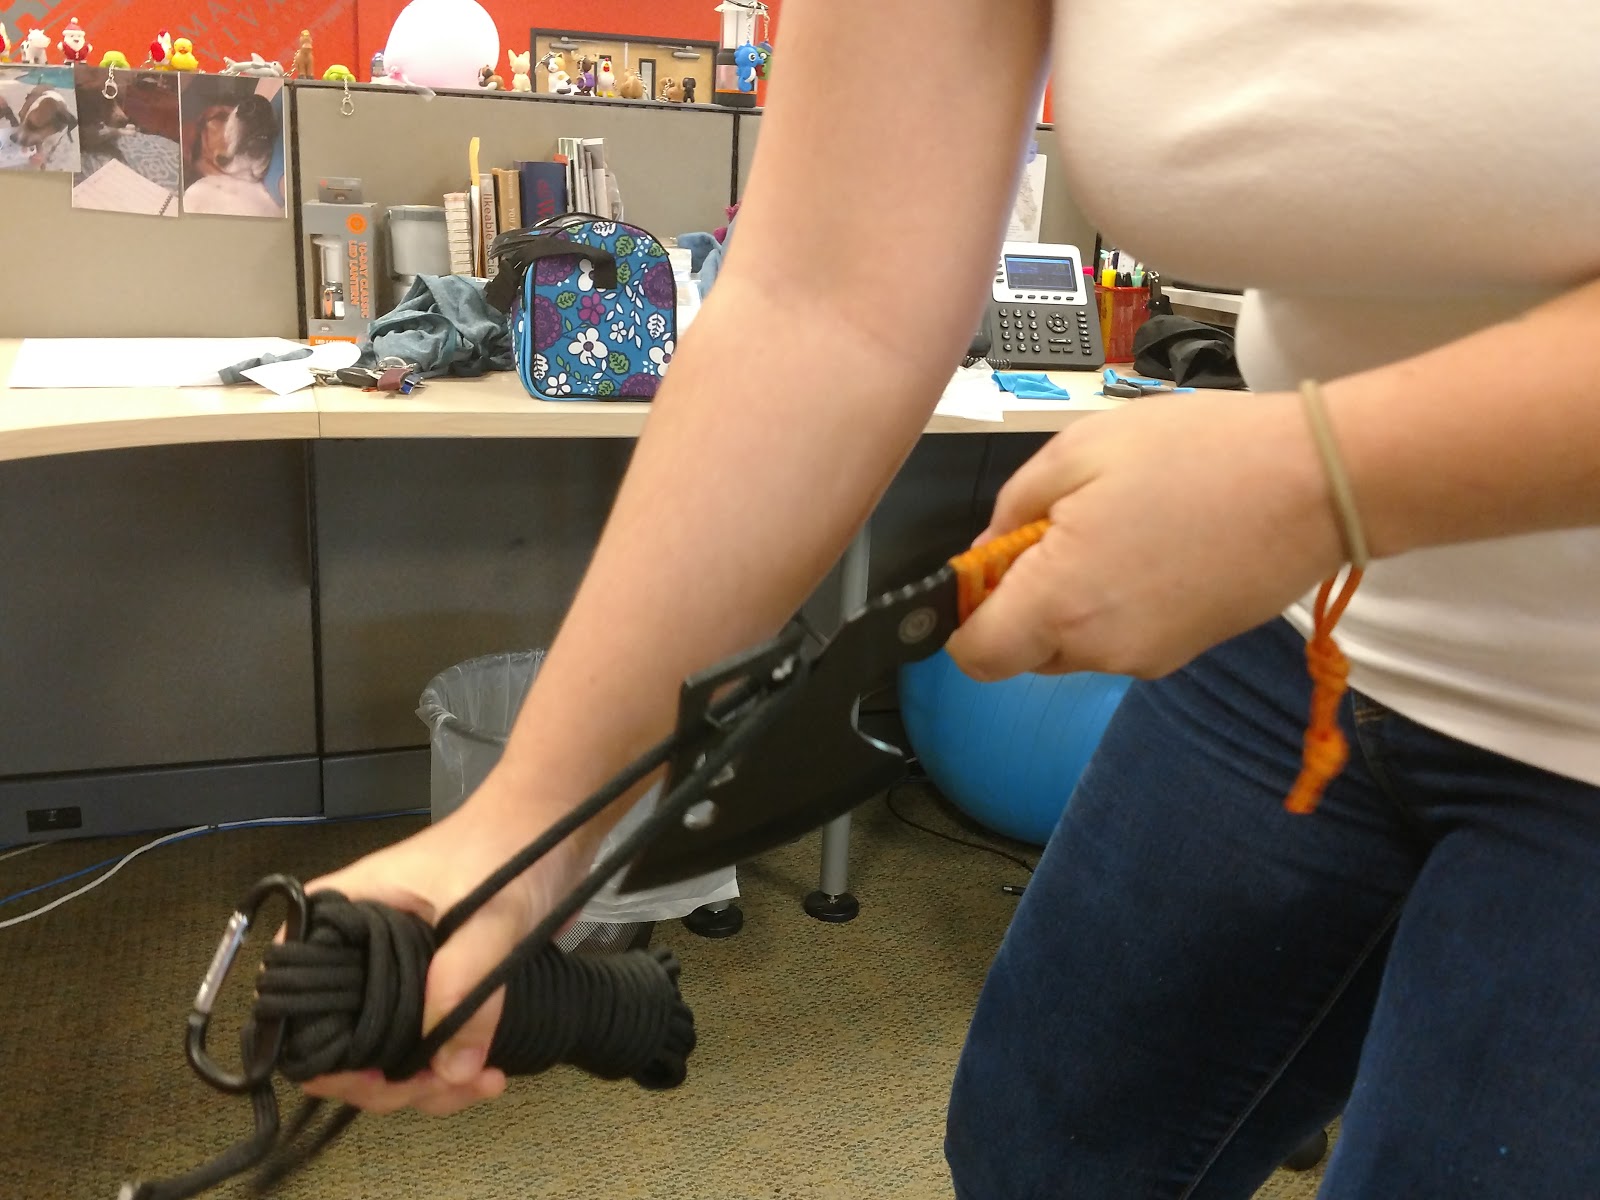
First we need to gather our materials. For the sides of the case I used the black Para 325, for the front and back, the camo Para 550. With your multi-tool closed, measure the length you will be working with. I did this by grabbing a bit of the cord and folding it in half. You should be able to wrap the sides of the cord around the multi-tool at least 6 times to insure you have enough cord. Cut the cord with the ParaHatchet or your multi-tool. You will also need a paracord needle for the weaving process.
Step 2:
Let’s begin the construction of our new case! We will be making the sides of the case first. Essentially, we will be making a paracord bracelet that spans the full length of the multi-tool.Fold the paracord in half and mark the point where the measured length of the sides meet, not including the top of the multi tool. This is going to serve as the starting point for our knotting process.
Step 3:
Keep the two strings in one of your hands and use the other to create a loop over the two strings folding back underneath them. Pull the same string back into the loop above the two strings until tight. Now, take the other string and repeat the process in the opposite direction. Repeat this until you read the hook and only a tiny loop remains. Use a lighter to secure the two sides onto the rest of the braid.
Step 4:
It is time to make the front and the back for the case. This is the time when you bring out your paracord needle. Before starting this leg of the process, melt the end of the cord you wish to use and screw it into the sewing needle. Starting with the top loop, take the camo paracord and weave it through to the next loop. Starting here you will begin alternating the thread from one side to the next. It is helpful to have the finish side wrapped around the multi-tool to check that you are leaving enough room for it to fit. Continue alternating the sides until you get towards the bottom. Stop here.
Step 5:
Once, you get to the bottom of the piece you want to start weaving your paracord. Instead of going across the piece you want to move up and down. You want to alternate moving your needle over and under the existing paracord. As you move to the bottom you want to make the opposite choice of under and over as your previous weave. Continue this process until you filled all the loops or the weave becomes too tight to add more weaves.
Step 6:
Once you complete the weave you want to take out your lighter and melt the paracord in into the piece to secure it. I recommend doing this outdoors for safety reasons. Also, please remember that the area is going to be hot to the touch and some melted paracord may get on you.
Step 7:
Starting the next section you have two options. If you left enough string on the other side of your initial loop, you can use this to weave the second side. If not, you can start a new string and melt it into the loop. For the second side, you will simply repeat the same process as the previous side, remembering to secure the end piece.
Step 8:
Double check that your pieces fit together correctly and move it in and out of the case a couple times to adjust the paracord. Since, it is a weave it will have some flexibility.
Bonus:
To add functionality to the case I added a carabiner. Luckily if you bought a paracord hank from UST it already comes with a carabiner and it will work perfect for the case. Where the original look for the piece is, insert the carabiner in the two loops below it. This will creep your case upright when you attach it to your pack.
And there you have it! You completed Multifunctional Multi-Tool Paracord Case!
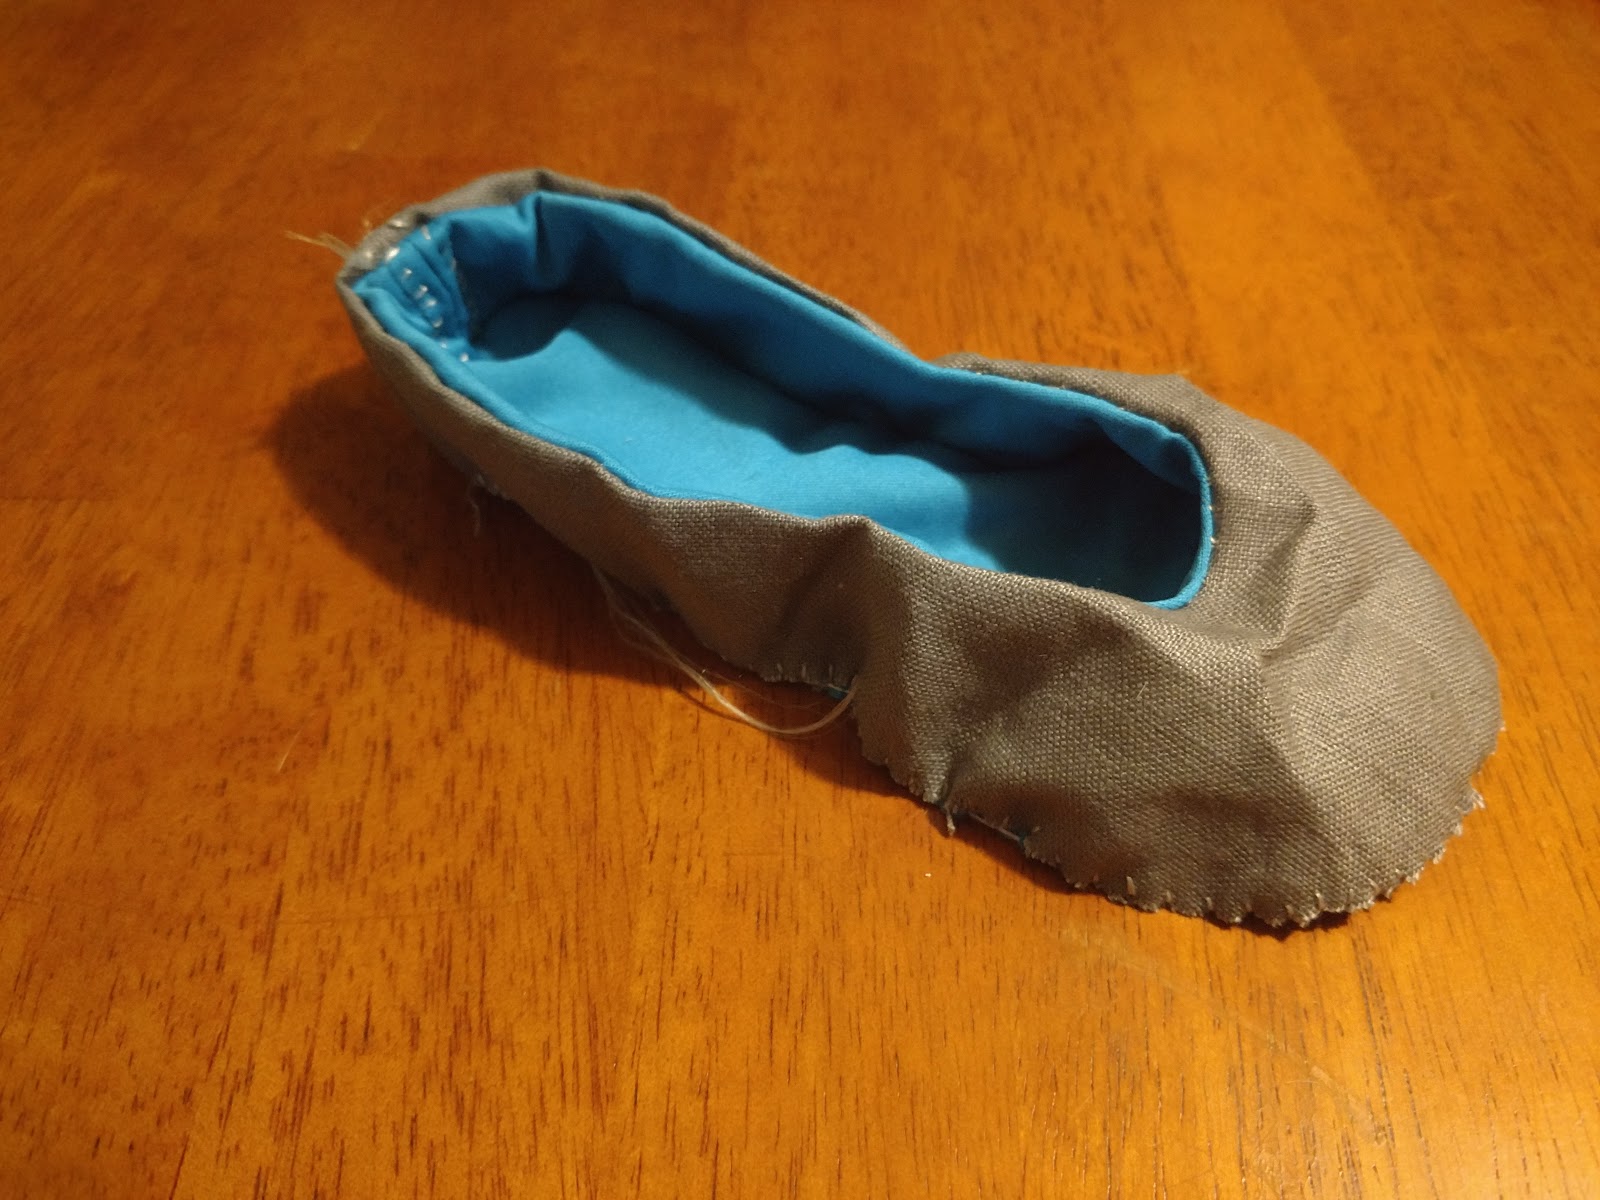
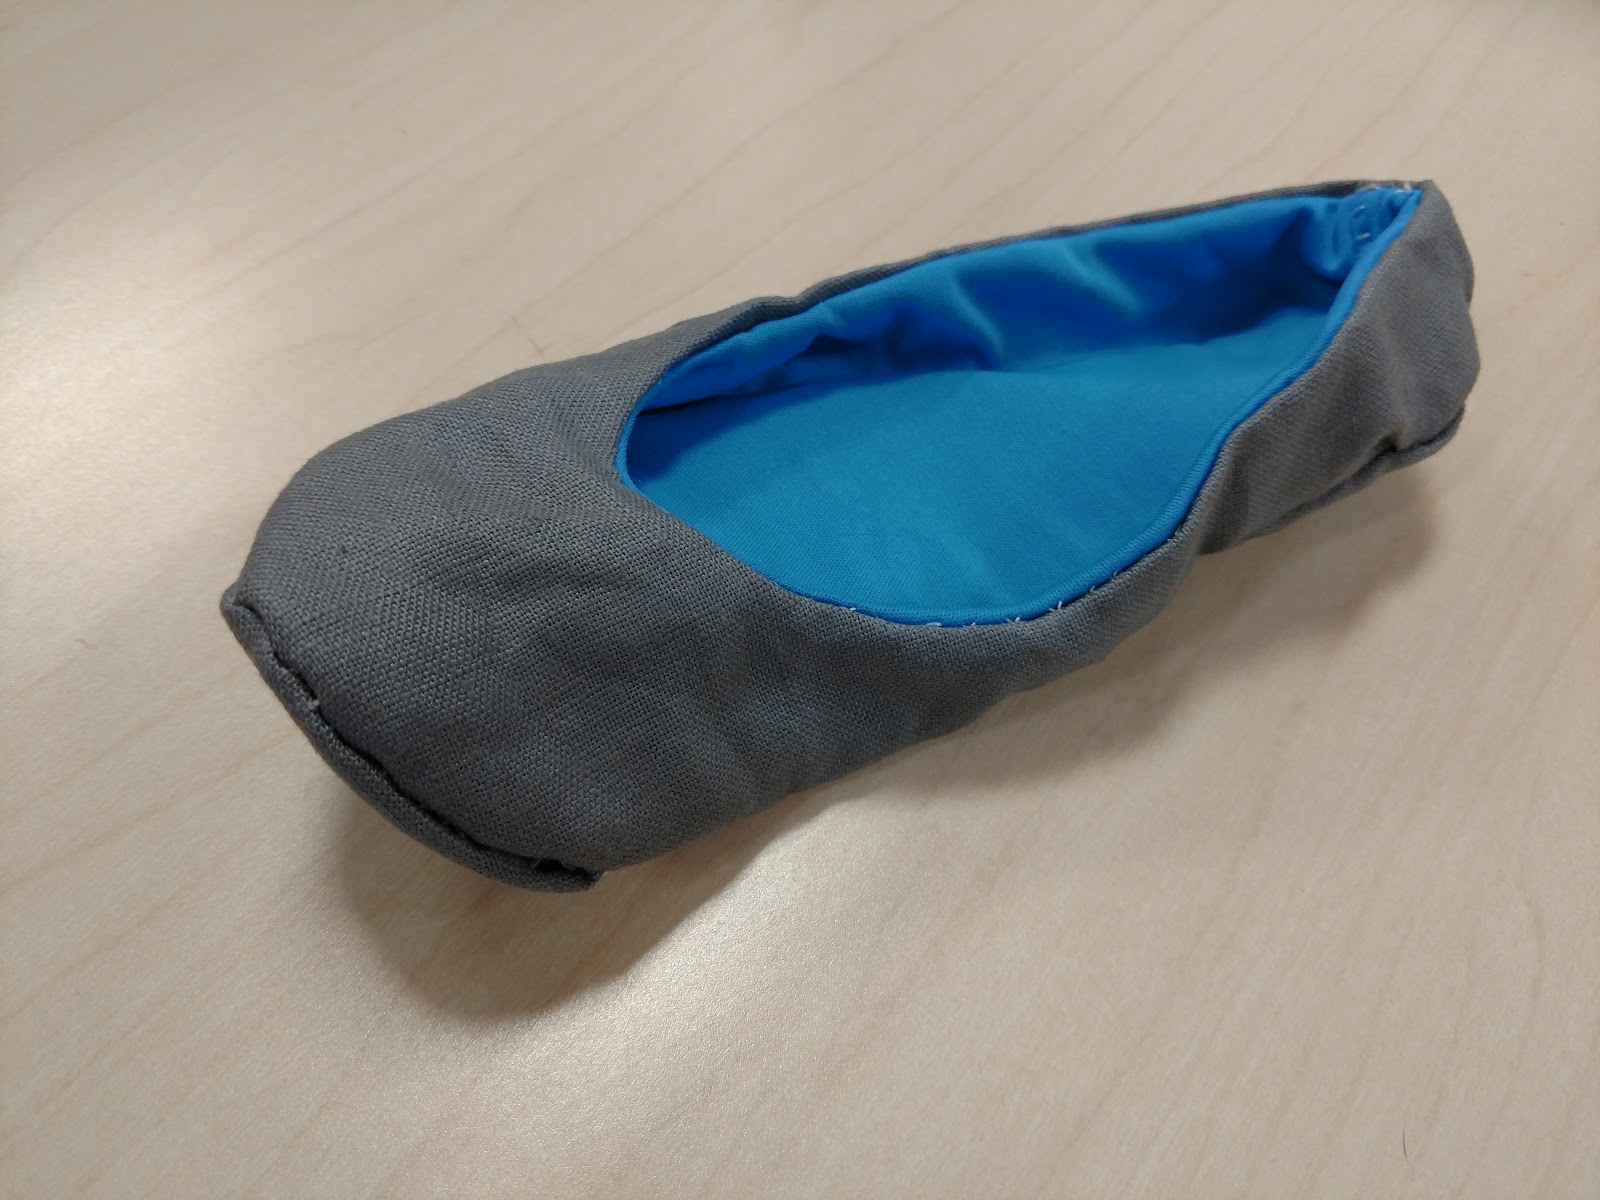
Paracord is one of those materials, such as duct tape, that seem to be able to do everything. It ties up your gear, hangs up for bear bag, and you can even sew with it. But along the endless amount of tutorials about paracord, you will be hard-pressed to find a tutorial on how to sew much of anything with it. To demonstrate how capable it is of sewing together damaged gear or making gear for on the trail we decided to make a shoe. The shoes we will be demonstrating are great for around camp and for around the house. They fold up easily and you can make them out of a variety of materials to customize them for what function you wish you use them for. In our case we used a lightweight canvas and jersey cotton.
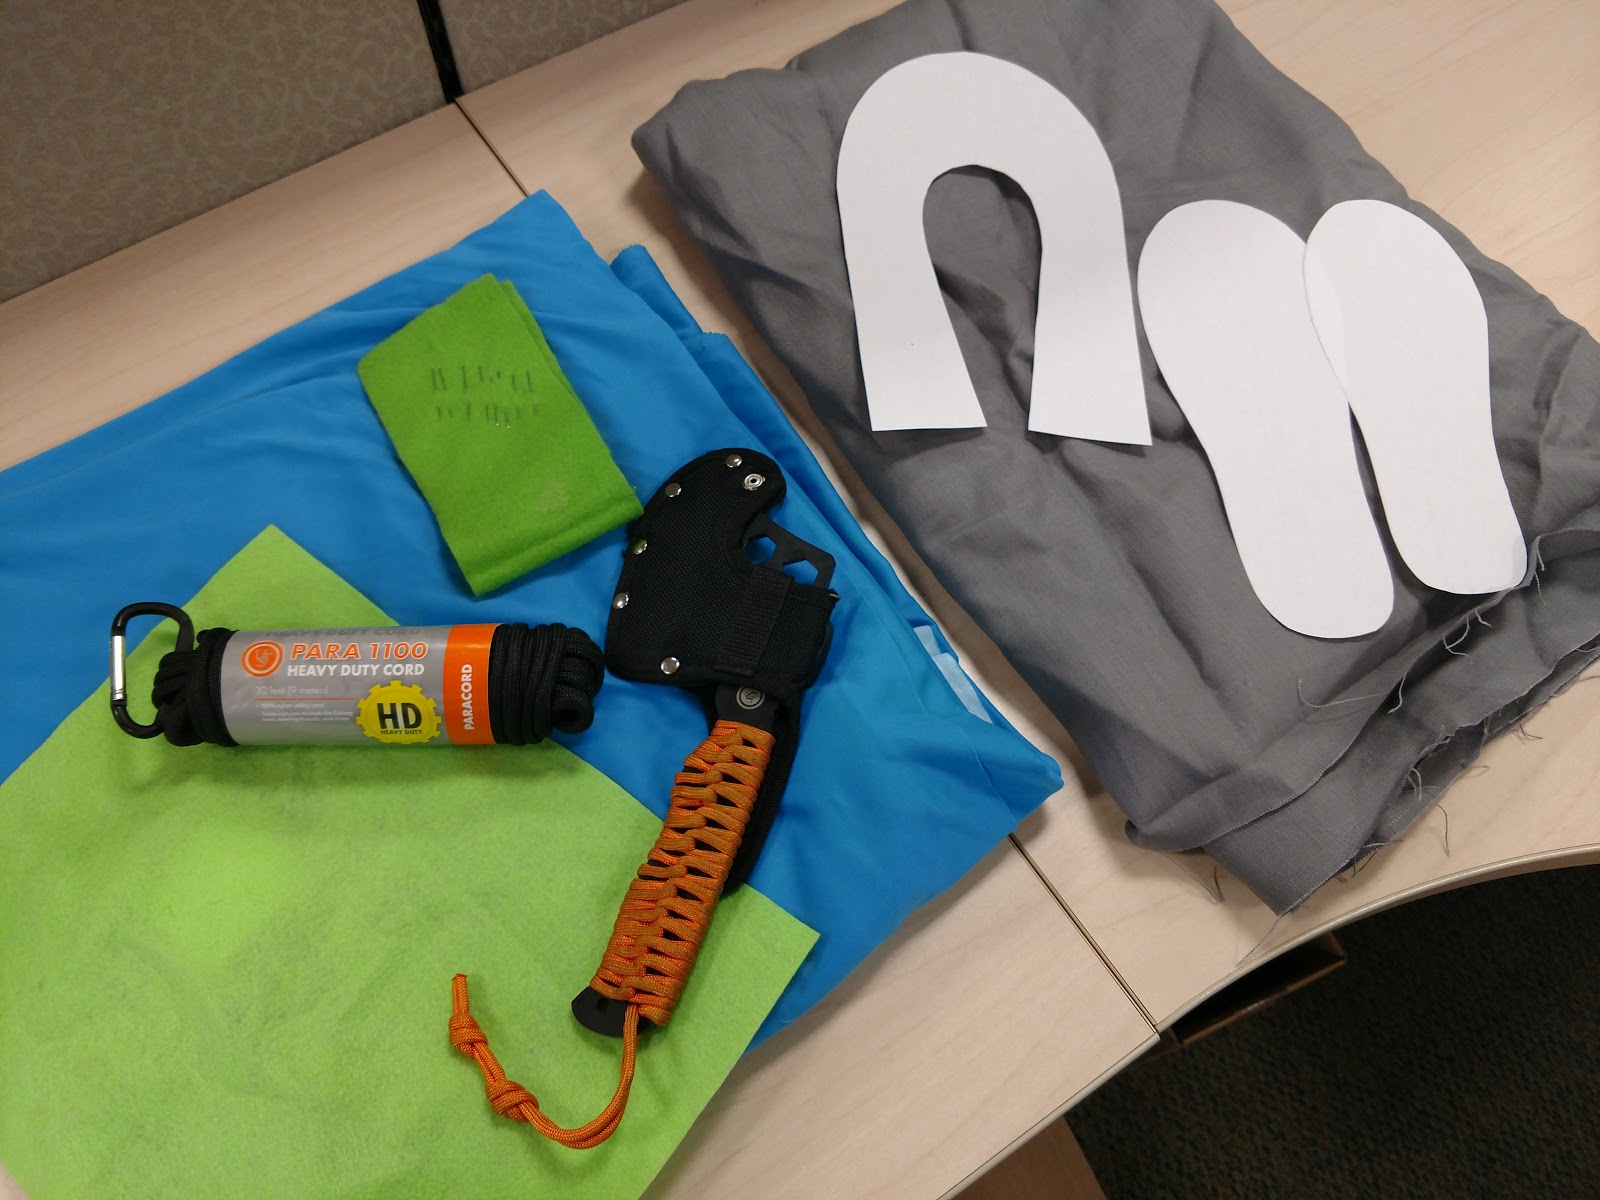
Let’s gather the materials.
Felt or a sturdy flexible material
Thin canvas or water resistant material
Soft fabric, we used cotton jersey but water resistant soft comfy material is recommended
Paracord
Scissors
Chalk or pencil to trace the pattern
Ruler (for making the pattern)
Paracord Cutter (we used a Parahatchet FS)
Sewing needles
1. Make the Thread
First we need to actual thread for our shoes. It’s a little bulk to use the whole paracord 1100 so let’s get out some of the fibers. You can also use these fibers for fishing line.
I discovered that the fibers in the paracord were still a little thick to be practical. No fear! The paracord can be broken down further to make sewing thread! I would recommend finding a needle that is just big enough for the thread. Picking a larger needle, will cause you to have difficulties pulling it through several layers of fabric that we will have at the end of the project.
2. Make the Pattern
Next, we need a pattern. Now you will probably notice we are not providing a pattern because each foot is different. So unless you are small like I am, or have kids, they will not be super helpful. However, I will provide you with the steps on how to make your own:
The Sole:
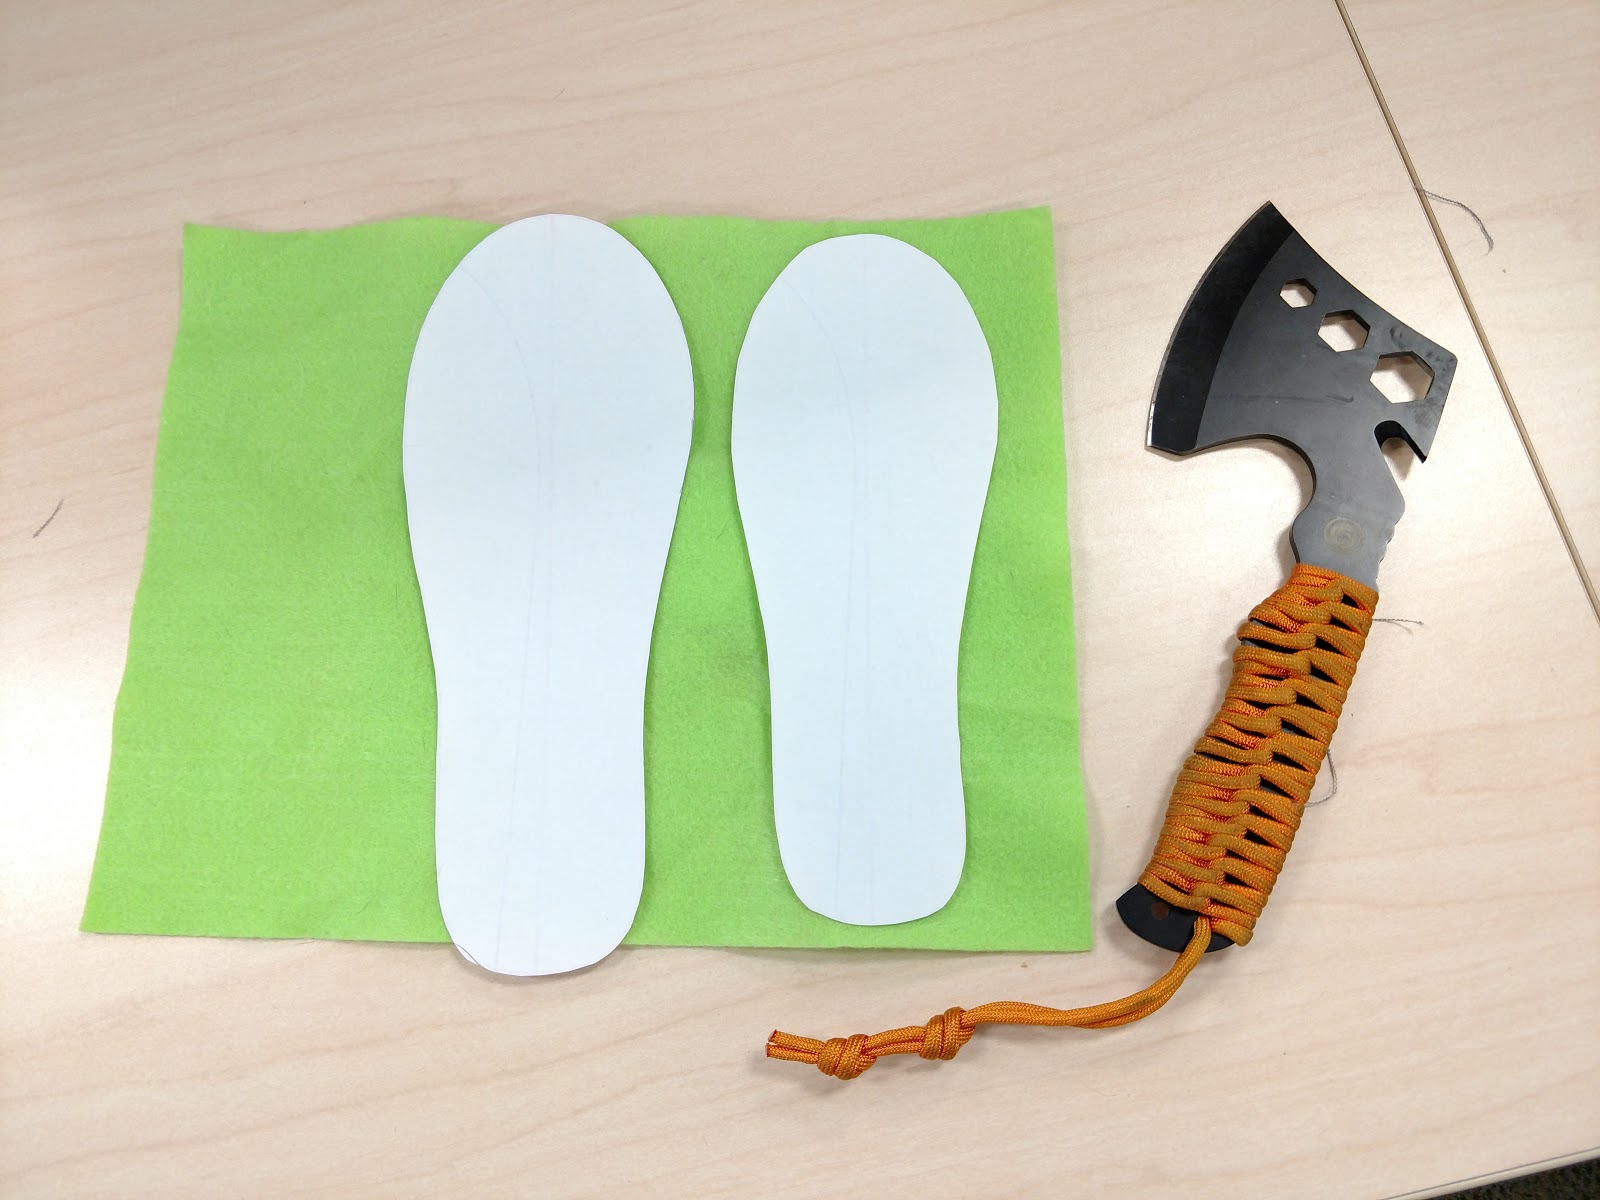
For the sole you want to trace your foot. Remember, to make it a little larger than your actual foot size since some of the fabric will be used to sew together. After you trace it, give yourself some extra room in the front for your toes. Your best solution is to use the insert of one of your day to day shoes and tracing that.
The Top:
The top is a bit harder but with some measuring it will not be too difficult. This process of making a shoe will also allow you to customize it some. First, remember that the top of the shoe is going to be the same length as the sole. For the width, measure how far you want to the to go over your foot in the front and in the back. In between the two points you should have a gentle curve to allow comfort for your ankle. In the end it will look like a horse shoe, the thickest on top, thinnest in the middle, and moving out again on the bottom. The bottom will have a slight angle down from the middle.
The Felt:
For the felt you are going to make a smaller version of the sole that will be sewn on the sole of the outer fabric. You can also put felt on the “Horseshoe” but I didn’t find this necessary since it was already pretty stable.
3. Start Shaping the Shoe
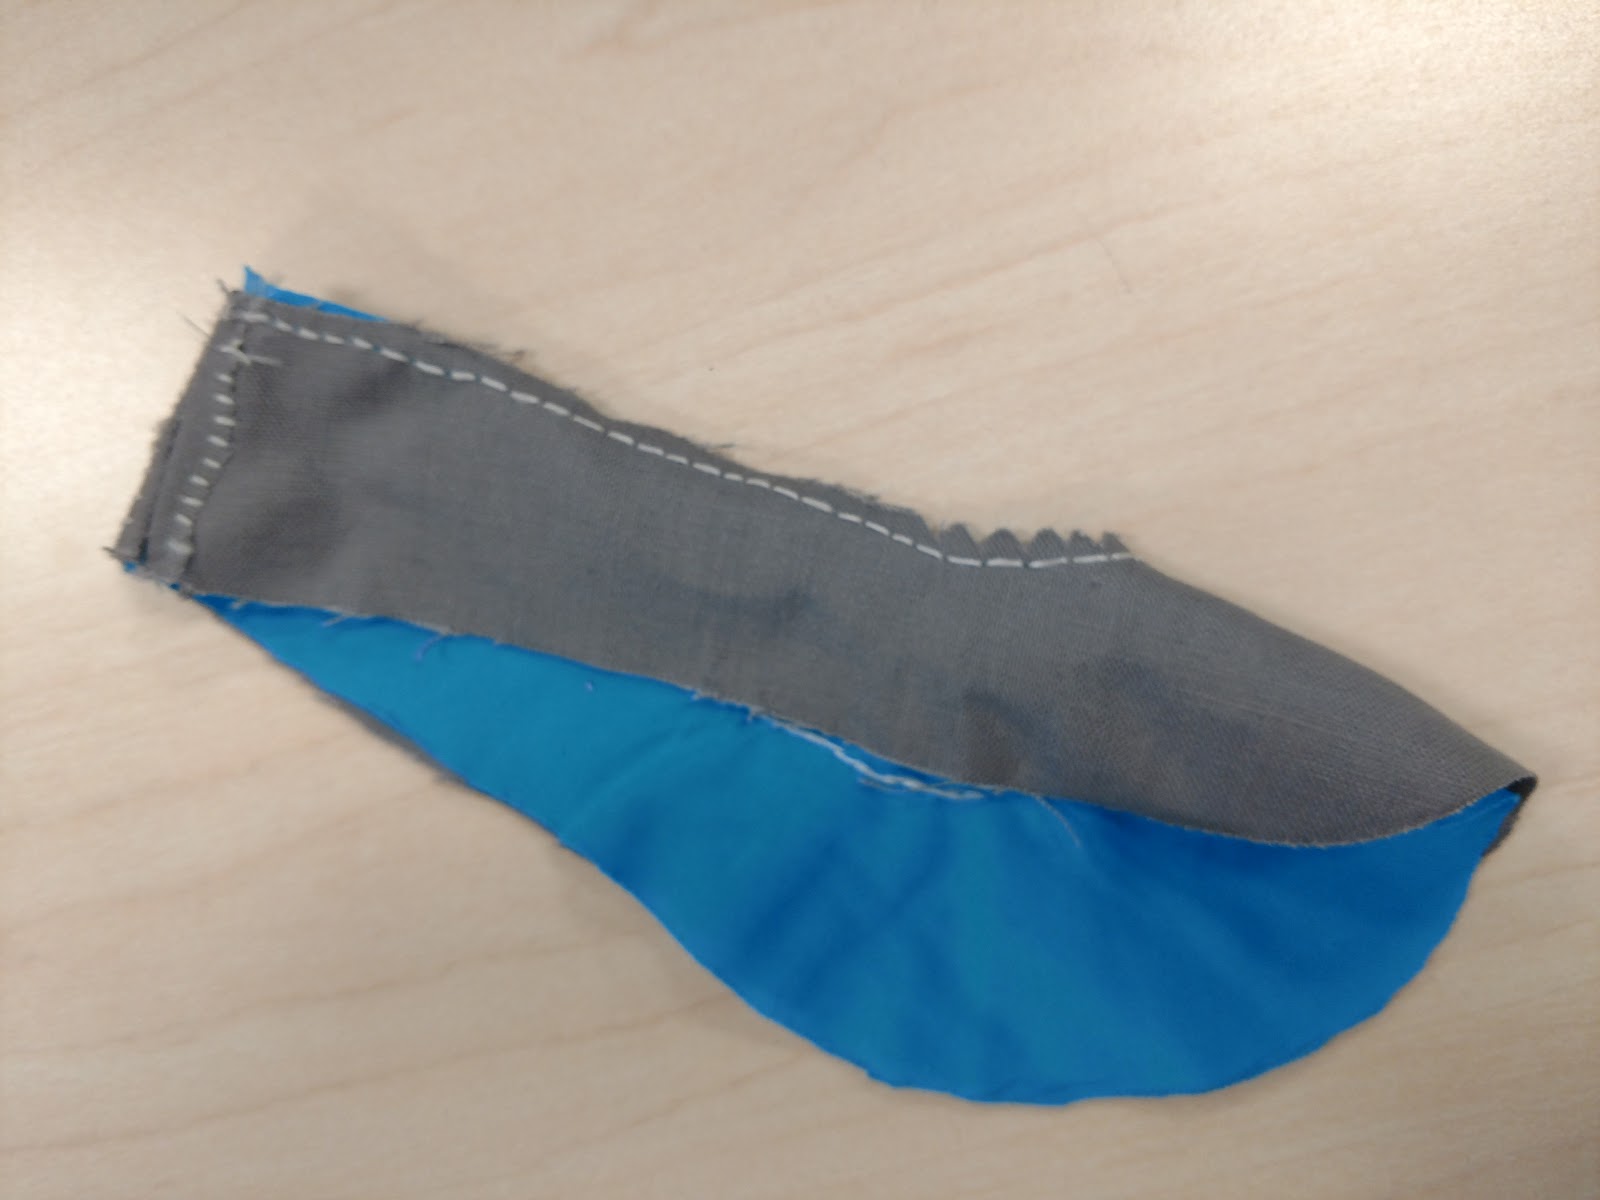
Sew the edges of the “horseshoe” together. Leave about a quarter inch of extra fabric at the edge of the stitch, this will be used to keep the shoe nice and neat. I used a simple running stitch to keep the two pieces of fabric together. You can probably iron the two extra pieces flat but I ended up sewing them. It made for an interesting pattern on the back of the heel at the end of the process. You will repeat this process for both the liner and the outer shell.
4. Attach the Upper and Bottom Piece
Let’s start putting pieces together! We used a running stitch with the folded pieces facing the outside on the heel. The goal is that once you fold the shoes once again they will not be visible. You want to leave about an 8th of an inch on the edge when stitching. Once, finished you will cut small triangles in the outer fabric to help fold the two large pieces over.
Flip it! Fold the fabric over so you do not see the stitching.
5. Attach the Sole Lining
I combined the step of sewing the bottom pieces and attaching the lining of the sole. Make sure to pin the three layer of fabric together since it will be difficult to hold together as you sew along the seam. For this I used a blanket stitch, which basically is a running stitch but you make a “knot” but running your needle through the loop you just created.
If you are doing this for Instagram, it looks done from the top!
6. Get the Sole ready for sewing
Now let’s combine the felt and the sole. Sew the felt to the sole with a simple button stitch. (The x shape you use for sewing buttons on your shirt or pants)
7. Attach the Sole to the Shoe
Next lay the sole of the shoe on top of the opening of the shoe. This is a little confusing. The first time I tried it, it didn’t make sense to me how it worked but it did, so do not worry. Also, make sure you are using the right sole on the right side of the shoe, you don’t want to worry later why you have two left feet.
Pin it together to make sewing it easier. I didn’t do this and ended up with extra fabric. Sew the top to the bottom with a simple running stitch. Remember to leave a space which we can use to fold the piece inside out so the felt will be on the inside of the show between the lining and the sole.
8. Finish the Shoe
Now we just need to turn it inside out.
Now we are going to use a blind stitch to sew the inside of the hole we used to turn the piece inside and out. If you don’t care about the thread showing, just use a running stitch. My blind stitch failed pretty miserably. If you do want to attempt a hemming stitch I have provided a link here for instructions.
Fantastic! Now we got a shoe perfect for around the house or for the campsite! Super easy to make and super lightweight. It basically folds down to the size that fits into a regular pocket. If wearing these shoes to the campsite, remember to make it out of water resistant fabric instead of cotton.
National Fossil Day in the United States is a great time to share geology and paleontology with kids and students! Every October, the National Park Service promotes one day as Fossil Day, and celebrations and events are held at numerous parks, monuments, museums, and businesses around the country.
This year, National Fossil Day is on October 11th. Our family is very fond of fossils, and geology in general, so we tend to make a big deal out of the day. We like to visit National Park Service locations that prioritize fossil conservation and protection, and go out of our way to take part in geology and paleontology activities.
We thought this week might be a great time to review fossil “etiquette” on public lands, or even on private lands when the find is a large one.
The most important rule of fossil “hunting” on public lands is that the fossils need to STAY PUT! It is super exciting to find fossils when you are hiking in places like Badlands National Park, but if you pick up the fossil and take it to the ranger at the visitor center, then the scientists will not be able to explore the find site for more fossils! Leave fossils where they are!
Tell a ranger. You can use your phone or GPS device to get the GPS coordinates of the fossil site, and even take a picture of the site with your camera to show the location of the fossils you found and what they look like.
Take only a picture. I don’t know about your front yard, but ours is already full of some hefty rocks, so we certainly don’t need more. We allow our kiddos to pick up rocks (but not fossils) and then we take a photo of it and place it back - so someone else can enjoy it, too! We always take pictures of the fossils we find in place, and even our boys, ages 6 and 10, carry their own cameras so they can join in on the memory-making.
Talk to staff at the park or museum locations. The best way to learn more about geology and paleontology is to talk to the professionals! Park rangers and museum curators are also usually scientists, or can direct you to one on staff that can answer your questions or give you more information. You can also learn more about National Fossil Day specifically by visiting the National Park Service website dedicated to this event: https://www.nps.gov/subjects/fossilday/index.htm.
Become a Junior Paleontologist! You’re never too old to earn a badge, and there is a paleontologist badge offered by the National Park Service. Many of the geology-focused parks and monuments (Badlands, Dinosaur, Agate Fossil Beds, etc.) have the booklet on hand to give out to kids and adults who want to learn more about this field of science. The other option is to visit the NPS website and download and print a copy of the booklet. It can then be mailed in to the National Park Service and you will be awarded the Junior Paleontologist badge through the mail! https://www.nps.gov/subjects/fossils/junior-paleontologist.htm
No matter where you are on October 11th, take a moment to appreciate the geology around you. You may live in an area that has the right age of sediment to find dinosaur bones, or you may come across sea shells in a dry, high location from prehistoric waters. Or you may live in the city and be able to visit a local museum or library that has a display of fossils. However you celebrate the day, celebrate the history of this continent and also take time to appreciate those who have dedicated their lives to studying and learning more about our past through the rocks around us!
Section hiking is likely to be the only thing that makes completing your favorite long-distance trail a reality for most of us. When most picture a thru-hiker, they imagine someone just out of school young enough to live foot-loose and fancy-free, or someone old enough to share some valuable lessons around the campfire or spin tales from their thrilling life adventures. What about the rest of us, though, the people who have work and life responsibilities that keep us from thru-hiking our favorite trail in one trip? Even here, at UST, we all have obligations to keep the company running smoothly. So, how do we go about hiking our favorite trail and following our dreams? One answer may be section hiking. In addition to making the possibility of hiking a long distance trail a reality, there are a number of other benefits that section hiking brings.
1. Take advantage of the best time of the year
Hiking a trail in sections allows you to determine the best season to visit each location either to the take in the best scenic views or possibly avoid the crowds. The fresh green of Spring on the Florida Trail and the Autumn leaves on the Appalachian Trail both fall outside of the prime hiking season, and therefore are often missed by thru-hikers. Being able to spread out your sections beyond hiking season also helps you escape some of the crowds that come with the popularity of scenic trails.
2. Learn from each section to improve your next hike
Before joining UST, my first hike on the Florida Trail was met with disaster. I had an old over-one-shoulder backpack from high school that I over stuffed with drawing supplies and very little water. Since, that back-aching trip I have learned a lot about gear, survival, and each successive trip bring further improvements. That is a great advantage of section hiking your favorite trail. Thru-hiking generally requires you to be better prepared than I initially was, but section hiking allows you to improve your skill level one hike at a time.
3. It allows you to enjoy each section for what it is
Even though it may be over generalizing, I expect most of us go hiking for the beauty of nature and to relax, with the bonus of some enjoyable physical activity. With section hiking, you avoid the worry of completing your daily miles to make trail’s end before winter sets in or your own personal time constraints send you back to reality. Section hiking allows you to take a breath and stop to watch the little squirrel gathering nuts for the winter, without having to worry about being late.
Speaking of deadlines, with section hiking you can spread your hike out over many months, years, or even decades. Each section can either last for weeks or can even be as short as day trips. You can set a pace you are comfortable with that also keeps you truckin’ along the trail. Ultimately, the choice is yours on how you spread out your hikes and how much you do.
When it comes to thru-hiking the cost is often underestimated. I mean, how much can hiking in the woods really cost, right? As it turns out, it can actually be a lot. Between gear, supplies, and the loss of income, the cost of a complete thru-hike is several thousand dollars. Section hiking can cut down on the cost by limiting supplies, being able to invest in more multifunctional gear and, most importantly, the ability to keep your day job.
6. Update your gear between trips
This is the best part of section hiking, being able to upgrade your gear. However, some may say we are a bit biased since we make gear. As you continue hiking the trail you will discover what specific gear fits you the best and it may not always be whatever is most recommended by the ”experts.” You also don’t have to worry about having the lightest gear (also often more expensive) and can trade weight for comfort since you will not be backpacking for as long. You may be surprised what you learn along the way from camp set up, to cooking gear, to sleep arrangements, each hike will bring you a little closer to being an expert in your own right.
Here in Florida rain is generally accompanied by lightning, which does not make for the best hiking conditions. Section hiking allows you to look out the window or at the weather forecast, to determine that perhaps right now or maybe next weekend would be best to do a certain part of the trail based on the weather. When hiking a Scenic Trail in one long session, you will be stuck traveling for miles under those threatening clouds until you make it to the nearest shelter or camping spot.
Even though plenty of people with severe limitations inspire us with what a determined person can do, for some of us it is more realistic to do a bit at a time based on our medical history or physical limitations. Always do your best to follow your dreams, and with section hiking you are able to do just that without risking your health or putting too much stress on your body.
Bonus:
Since we always love talking about dogs, section hiking allows you to bring your dog into areas that are safe and allowable for your pet. Several trails do not permit dogs for the whole length of the trail and alternatives have to be found for them during those sections. When, you section hike you can bring them along for those stretches and leave them with family members that will spoil them as you hike the rest.
In the end, you may not get the cool points of being a thru-hiker, but you can still say you hiked your favorite Scenic Trail from end-to-end. And, you had the chance to follow your dreams, even if a took a little bit longer
Not every jaunt outside has to involve a coffee-fueled overnight drive six hours away to some grand national park, as sometimes your local parks can offer up just enough adventure. Whether maintained by town or county entities, these jewels that dot our country offer an opportunity for outdoor recreation just down the road or around the block. Sometimes these areas are undeveloped forests for harvesting timber, sometimes a glade with a rugged trail network and sometimes a wood chip filled nature trail in the middle of town.
The trouble with local public lands is that they are sometime such a well-kept secret that they are difficult to find. If you do find them, a current map may be pretty tough to get into your hands. Though you may be able to find these places by browsing through Instagram, a local outdoor club might be the best for finding these great places. I discovered a few new-to-me local getaways by attending meetings with our local trail club.
Most local parks post their specific ordinances by the entrance as to whether camping is allowed (though it usually isn't) and hours of operation. If you have questions, contacting the operating parks department directly would be your best option. As always, practice leave no trace and leave the area better than you found it.
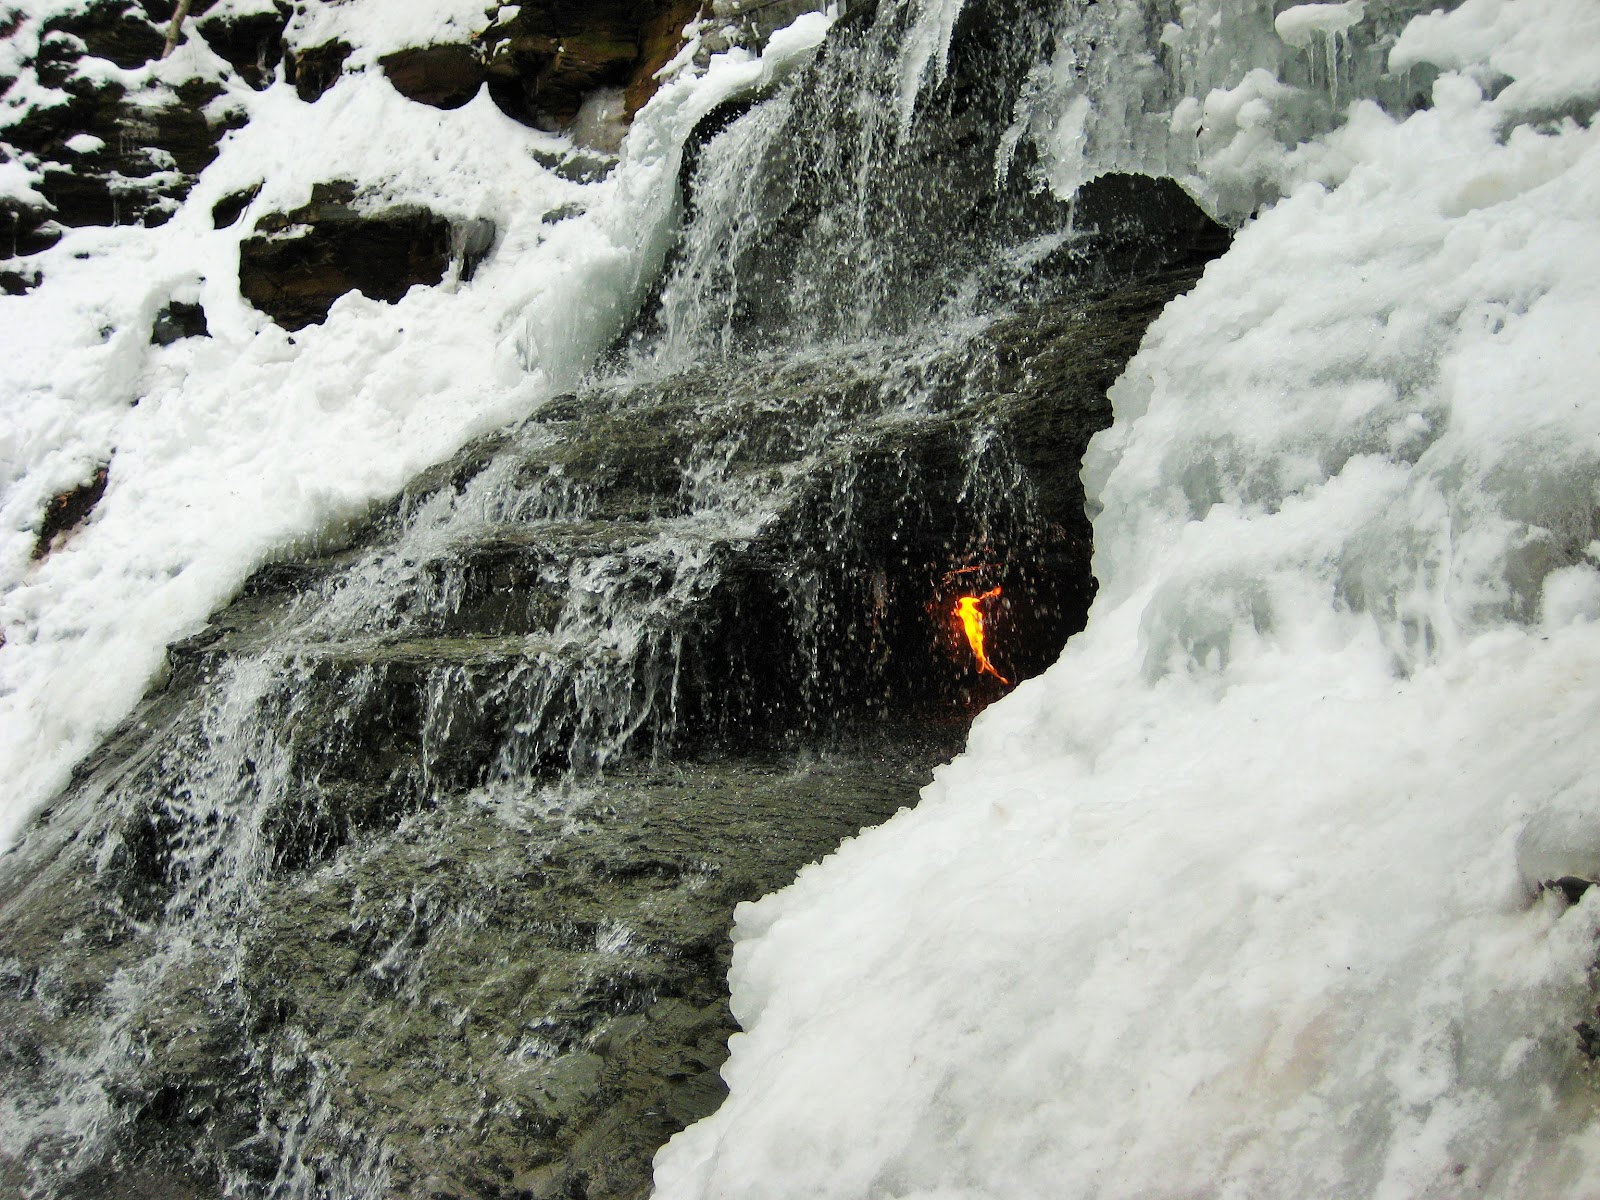
Though Buffalo-Niagara has some fantastic outdoor opportunities, my favorite local park is Chestnut Ridge Park operated by Erie County. Miles of trails crisscross the 1,200 acre park with deep ravines and a rich forest. One of those trails leads to the Eternal Flame Falls, a waterfall with a natural gas seep behind it; the result of the flame behind the falls is breathtaking. Though I've hiked, snowshoed and cross-country skied every trail multiple times, I keep going back and discover some new hidden, forgotten feature.
National Parks - Todd Nystrom
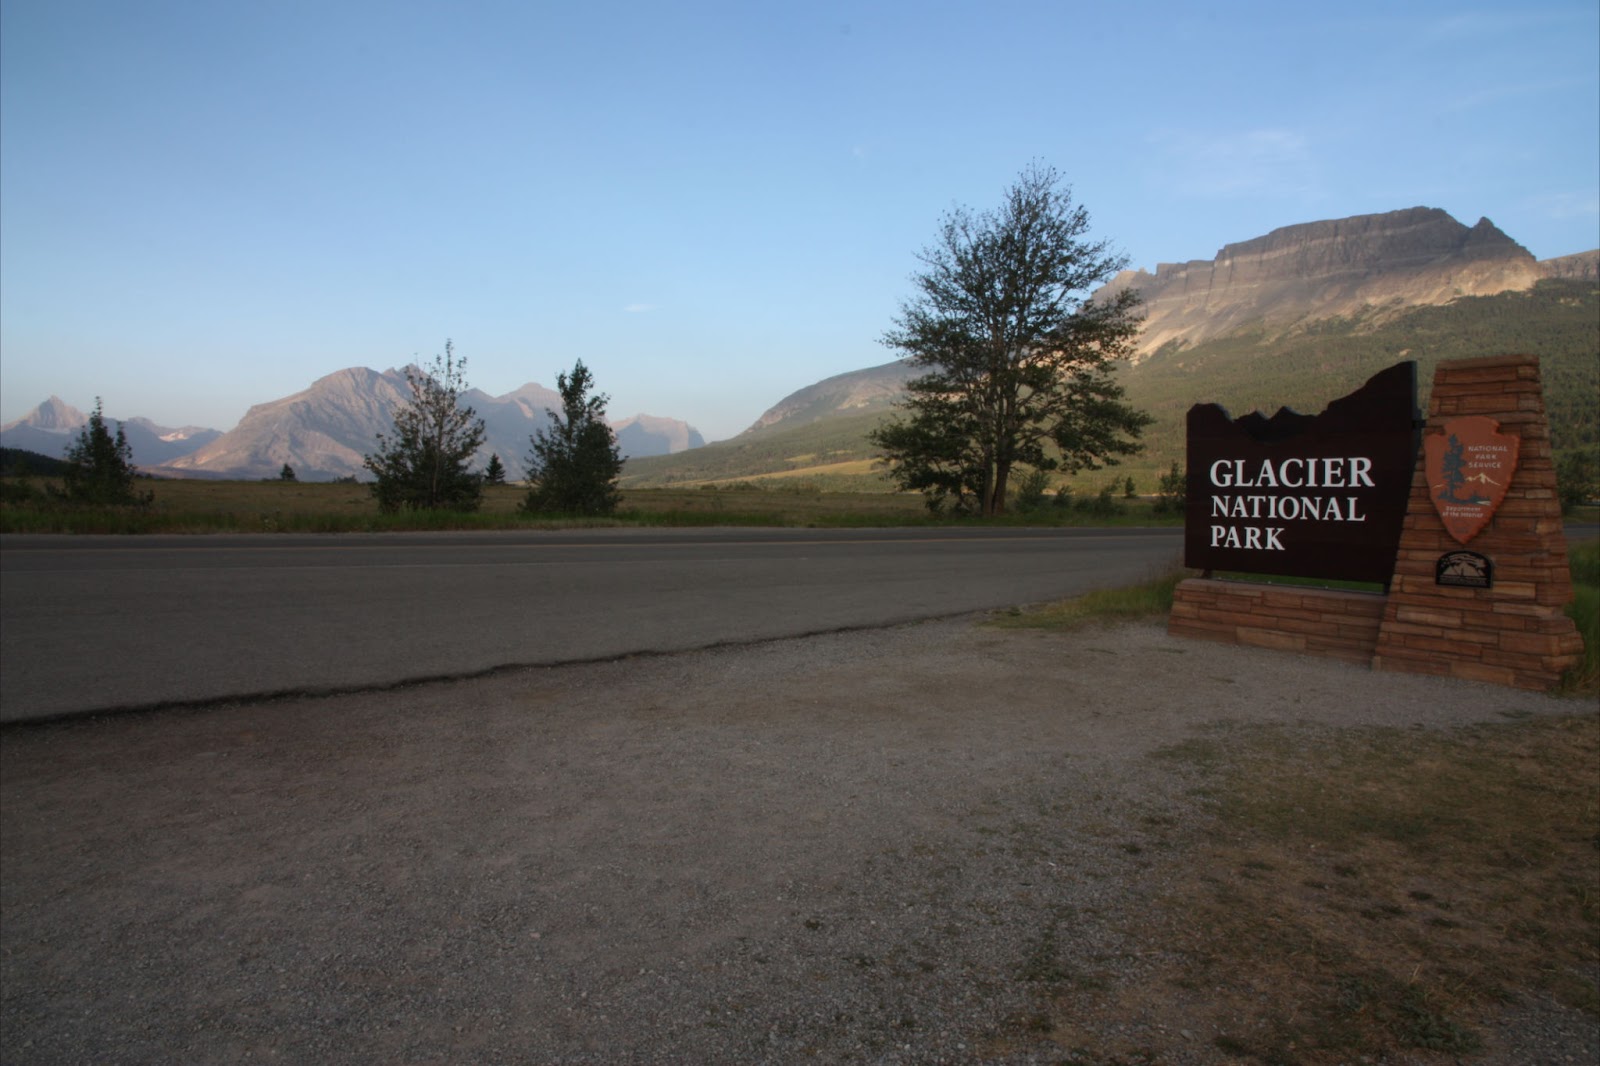
Most people are familiar with the 59 major U.S. National Parks that are managed by the National Park Service (NPS) which is part of the U.S. Department of the Interior. For most, visions of the vast and spectacular wildernesses of Yellowstone, Yosemite, or Glacier dance in one’s head. And, while these are possibly the first that come to mind, there are numerous other amazing places that fall under the auspices of the NPS. From National Monuments, to National Scenic Rivers, Lakeshores and Seashores, to National Monuments, Historical Parks, and Battlefields, and National Trails, like the Appalachian Trail, there is truly something for everyone. For a good explanation of the many different designations see this article: https://www.nps.gov/goga/planyourvisit/designations.htm.
Whether you are looking for a history lesson, a stroll on the beach, or a remote wilderness adventure the activities and diversity available to visitors are limitless. Touring a historical site or national memorial could be a short visit, perhaps an hour or an afternoon, and probably requires little planning or physical activity; but take advantage of these places when you have the opportunity as learning about the people, places and events in our nation’s history is always a worthwhile endeavor.
On the other hand, if you are planning to visit one of the “Big 59” you will need to do a thorough job of planning. Reservations for in-park lodges and campgrounds or nearby hotels, B&Bs, or private campgrounds will likely need to be made well ahead of your visit as they fill up fast, especially during the prime summer months. If you have the flexibility to visit a park during the off season you may have an easier time finding a place to stay; however, be sure to check carefully as roads, facilities, and trails often close due to limited staffing, maintenance, or weather.
If you plan to do any backpacking you will want to carefully plan your routes and overnight stops and keep in mind that permits are usually required and campsites are often designated and require reservations which should be made long before you arrive. Some parks may have walk-in opportunities they hold or that free up when someone doesn’t show, but counting on that is likely to result in major disappointment, so do your homework!
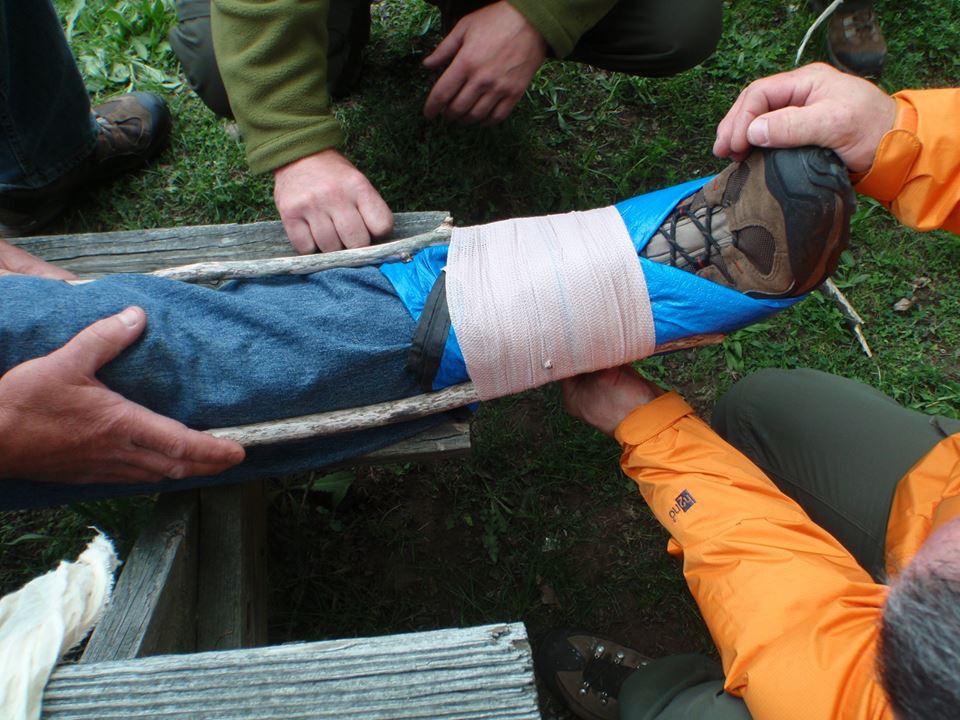
Whether backpacking or just day hiking in the backcountry, make sure you are thoroughly prepared. Most of the remote areas of the national parks will have no cell phone service so you will need to be ready to survive on your own if something happens. Taking a wilderness first aid class is always a good idea, but especially so if you are going to venture deeper into the wilderness. Also, mountain locations are notorious for sudden weather changes and you should always have extra clothing layers and raingear so you are able to handle the most extreme conditions you might encounter. Bring plenty of food and water, and possibly a way to filter or purify it if you can. Carry a paper map and compass and know how to use them as electronic devices like phones and GPS units can fail. Some other things you probably want to consider are a hat, sunglasses, and sunscreen, some form of makeshift shelter, first aid kit, flashlight or headlamp, whistle, emergency fire starting materials, and last, but not least, your camera to capture all the amazing beauty you are going to see!
Why I will visit a State Park on Public Lands Day - Chris Giblin
State Parks provide a valuable opportunity to enjoy the outdoors and our Public Lands when time and money are limited. For some, going to a National Park takes months of planning and the right timing. I have a family and between coordinating vacation time with my wife and working around our daughter’s school schedule, it’s a minor miracle the trip happens at all.
However, we can quickly pack our car with a picnic lunch or even throw our camping gear in the back and within an hour or so find ourselves in the relaxing Piney Woods of East Texas and its magical State Parks. The smell of Pine, the dirt under the trail shoes, and the chilly lake water provide refreshment for our souls after a hard week of work and commute, releasing those toxins to be whisked away by the wind. A stop at the visitor center or taking a Ranger led hike informs us of what our eyes are seeing and what it took to make these places so special.
By taking an even longer drive I can be taken to an almost desert landscape on the Caprock Escarpment where wild Bison roam freely at Caprock Canyons State Park. Combined with hoodoos, canyons and glistening Red Rock, it’s like a combination of Yellowstone and Bryce Canyon all just a half day's drive from home.
So this Saturday I will return to Tyler State Park and appreciate what I have in my own backyard as I hike a loop trail, enjoy a nice lunch at the lake and sit quietly at my favorite spot as the birds call and the bullfrogs croak, knowing there are many others who find meaning in our Public Lands.
Not-So-Vast Public Lands: National Monuments - Nature Tech Family
When someone mentions National Parks or Public Lands, most of us envision vast expanses of wilderness, forests, ocean shoreline, and megafauna. Beside the actual 59 national parks owned by the National Park Service, there are 358 other units that hold a wide range of designations on the national level. One of our favorite, and often overlooked by many Americans, is the National Monument.
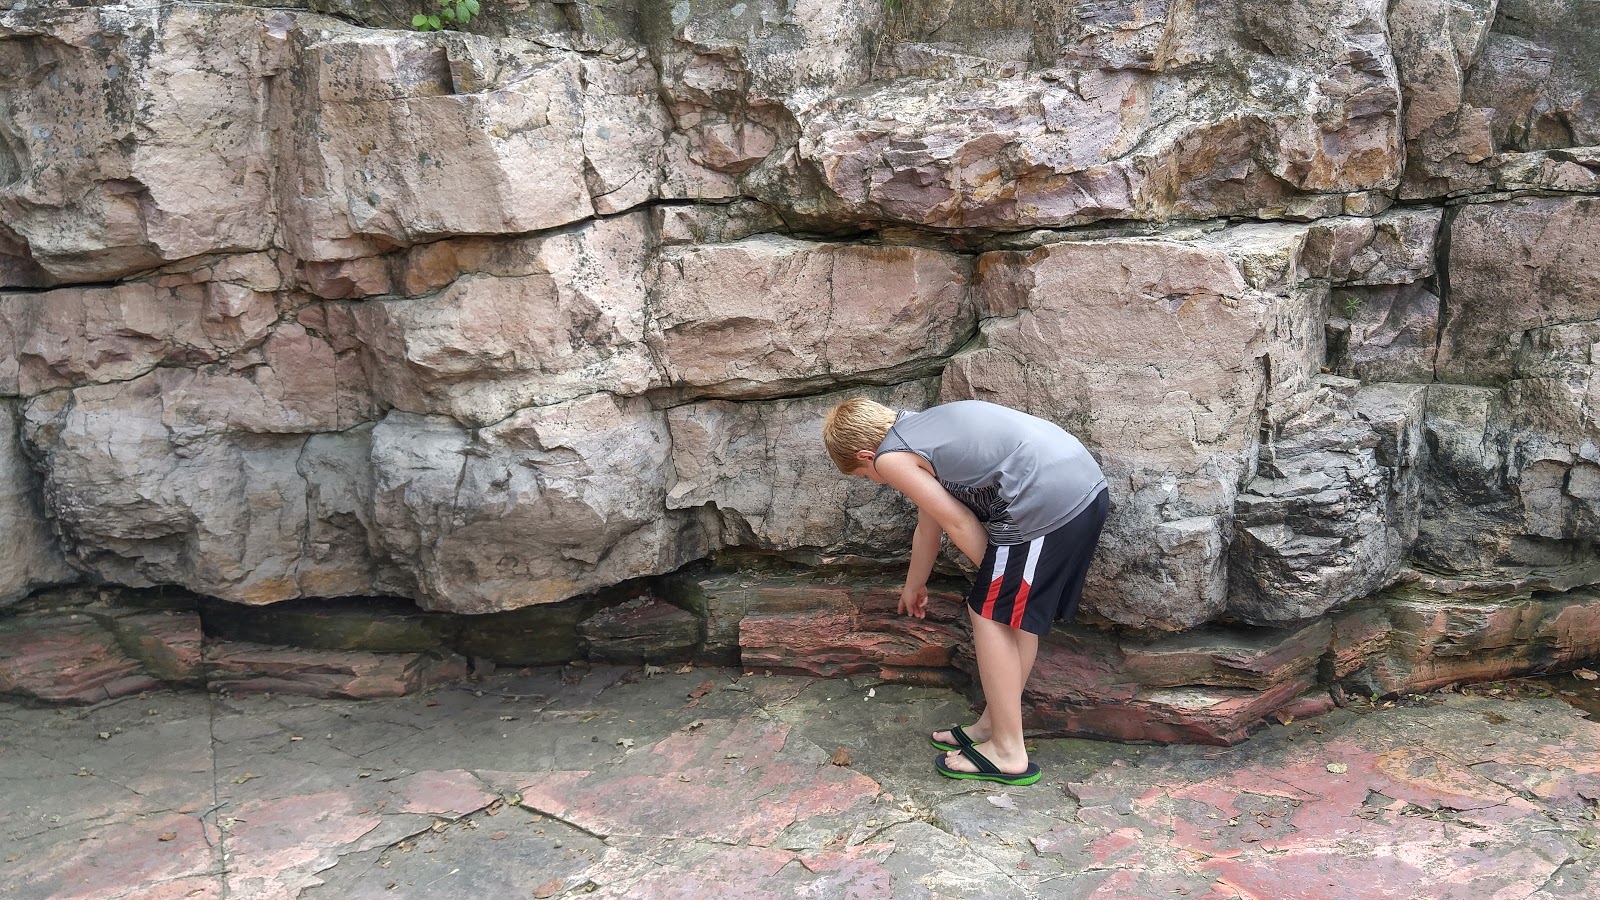
Calvin points to the Catlinite layer at Pipestone National Monument.
If you were to pull up a map of your state or region of the country, chances are high that you have at least one National Monument located close to you. Although considered a “quieter” designation, some national monuments hold some of the rarest and most spectacular geology, artifacts, and history that can be found in America. Some of these national monuments, such as Grand Staircase-Escalante or Bears Ears, have fallen under administrative scrutiny this year, so perhaps you have been hearing more about these special places to explore and adventure.
For our family, we find incredible value in these sites: from fossil discovery to petroglyphs, historical documents to wardrobes and weapons, we always learn so much from visiting these public lands. Here are a few of our recent favorites:
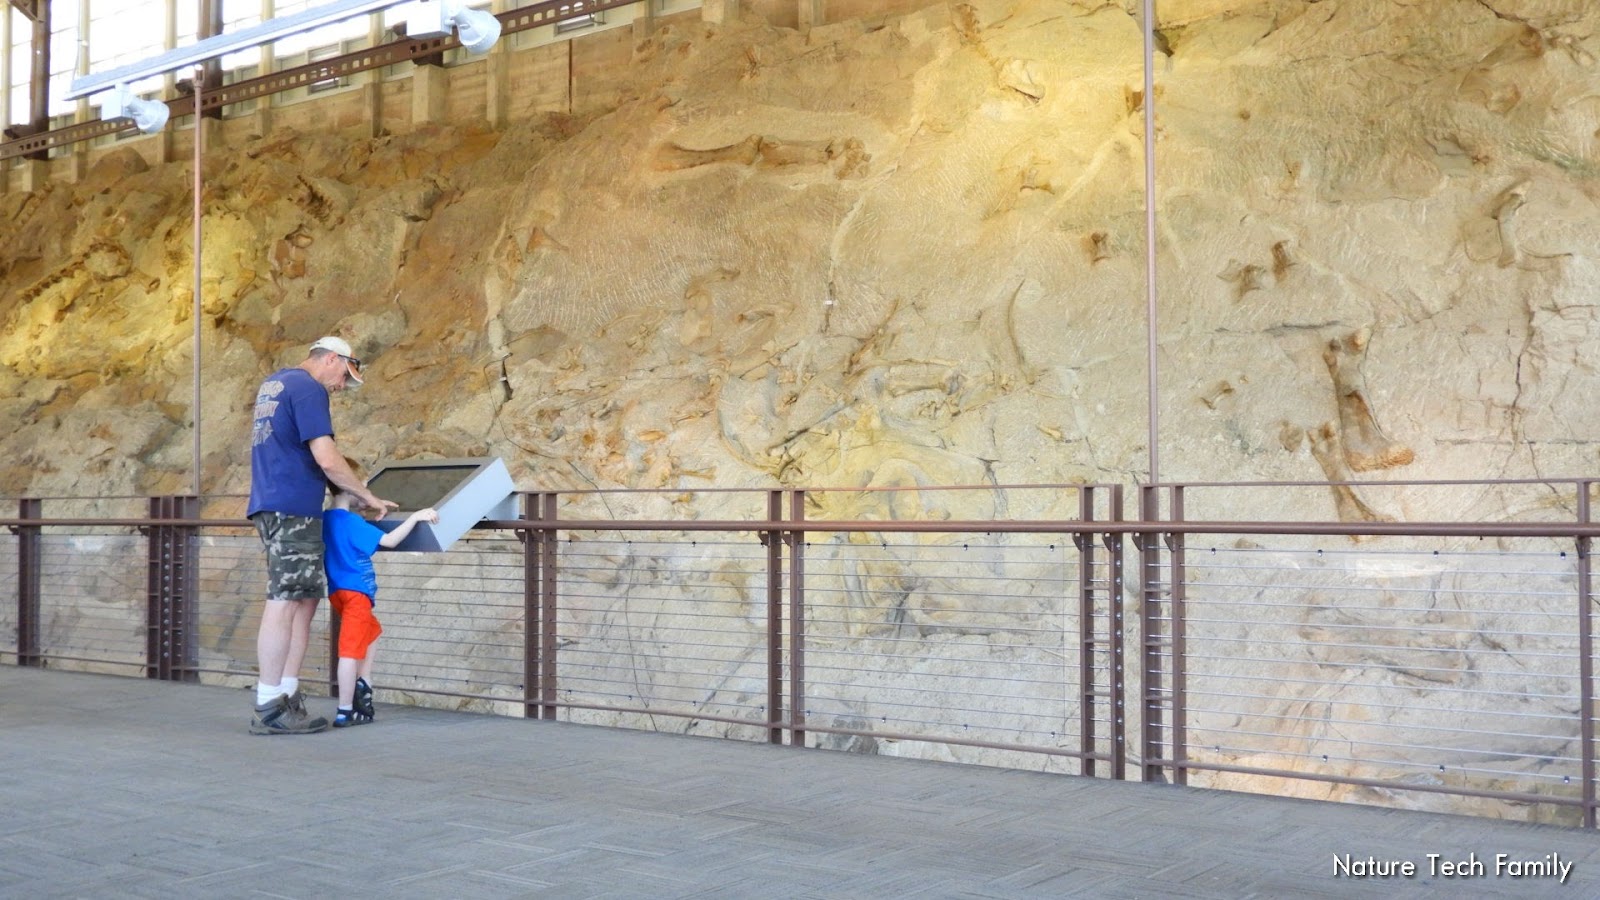
Dinosaur National Monument. There is no doubt that we are fossil and geology nuts as a family, so when we visited Dinosaur last summer we were in fossil heaven! Not only is there a bone quarry that has been preserved through building a museum around it, but you can TOUCH some of the bones! This was by far one of our favorite national monument stops as a family, ever. We spent only one day here, and only saw the Utah lands and museum. We plan to return soon to check out the Colorado side as well.
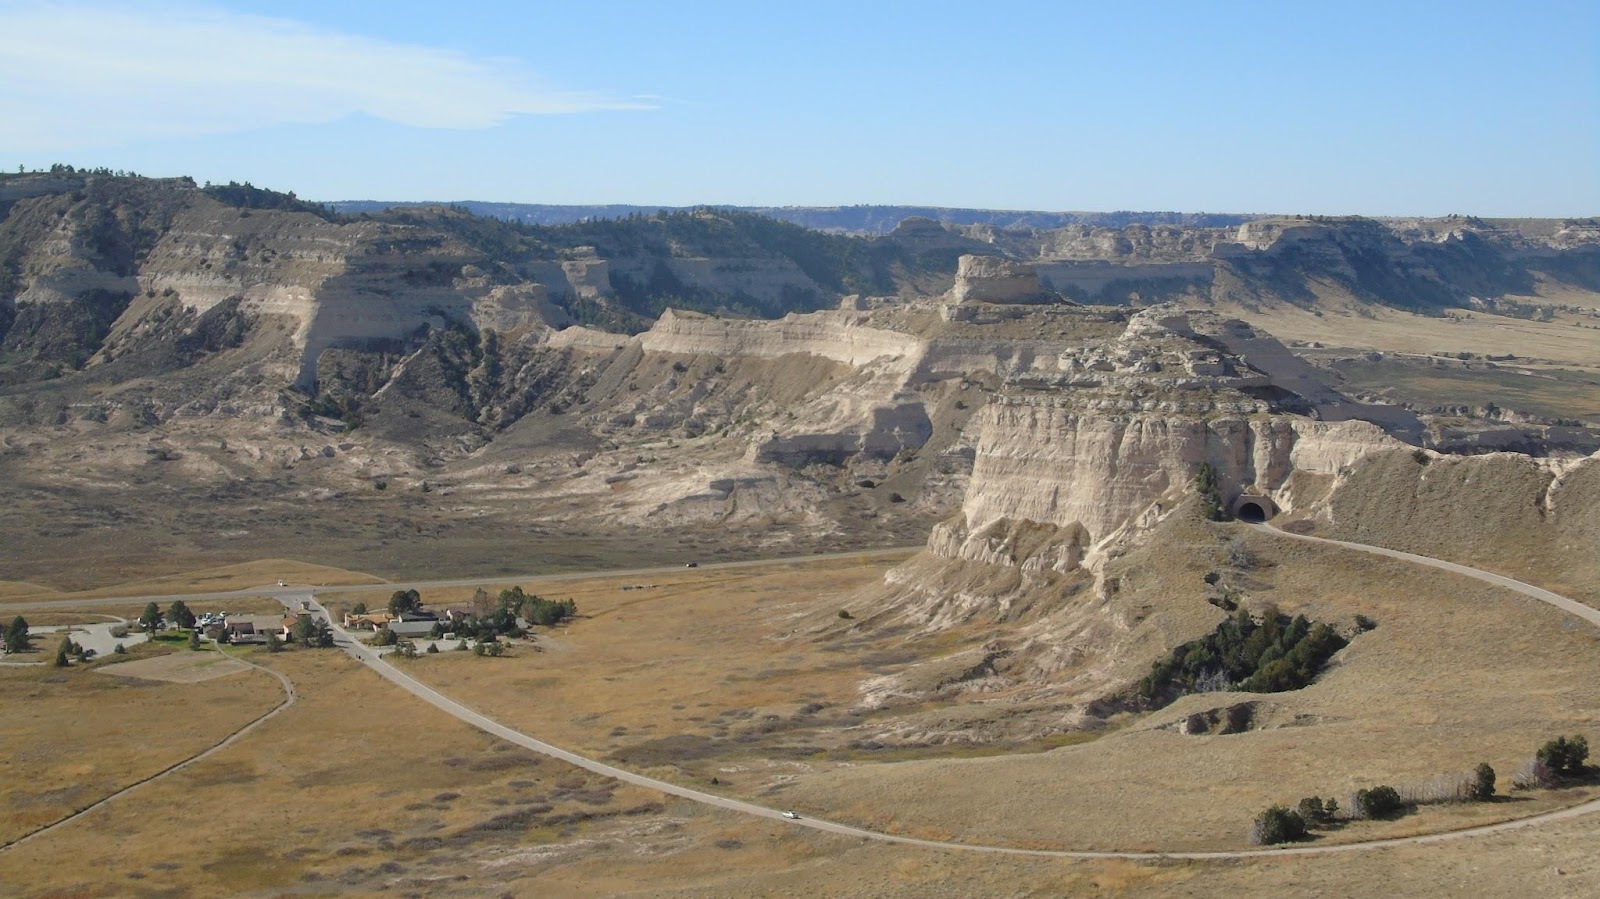
Scotts Bluff National Monument. We visited this historic site in the fall of 2016. At this point in Nebraska, four historic trails run together: Oregon Trail, California Trail, Pony Express Trail, and the Mormon Pioneer Trail. We were able to stand on the actual Oregon Trail, and the views from the top of the bluff were amazing. There are other landmarks in the area to explore as well, such as Chimney Rock, which allows for a whole weekend of adventure.
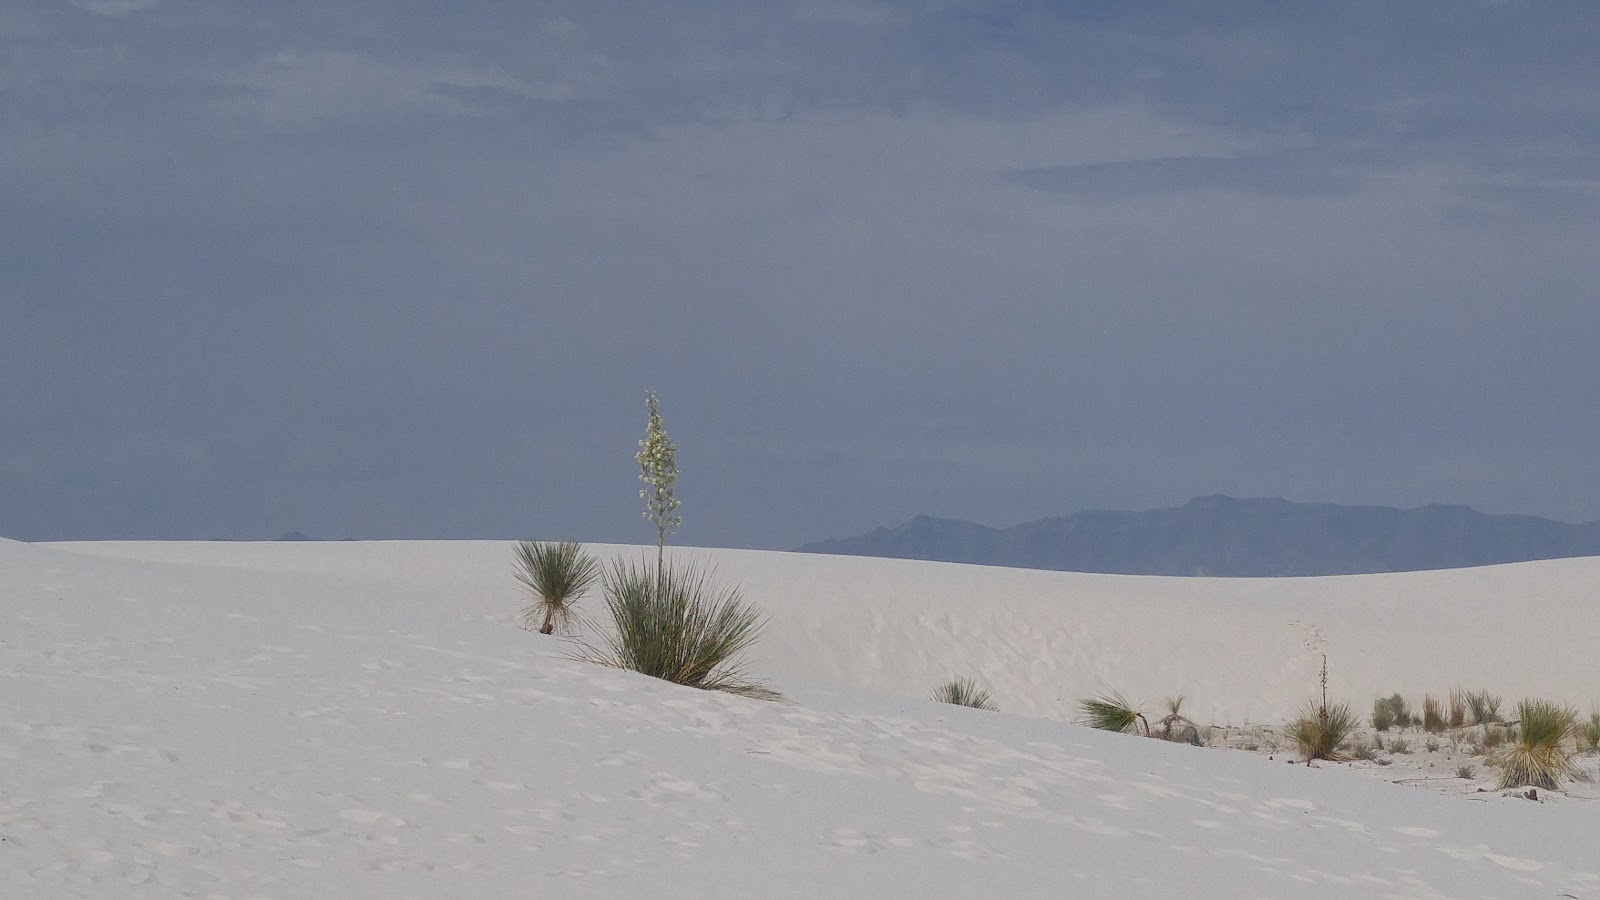
White Sands National Monument: One of the most unique (and hottest) monuments we have visited, this site is located in southwest New Mexico and attached to the White Sands Missile Range. This site is considered the world’s largest gypsum dunefield and can be both beautiful and foreboding. Be sure to keep a map and compass handy if you head into the field… you don’t want to end up on the missile base!
From our home in the Black Hills, we have five National Monuments within a half-day’s drive, including one (Jewel Cave) just minutes away from our house. In our opinion, any National Monument should be considered on par with National Parks and National Forests as “must-stop” locations along your travel route. And what better day to explore one than National Public Lands Day?
Why I hike the National and State Forests - Hibernia Overland
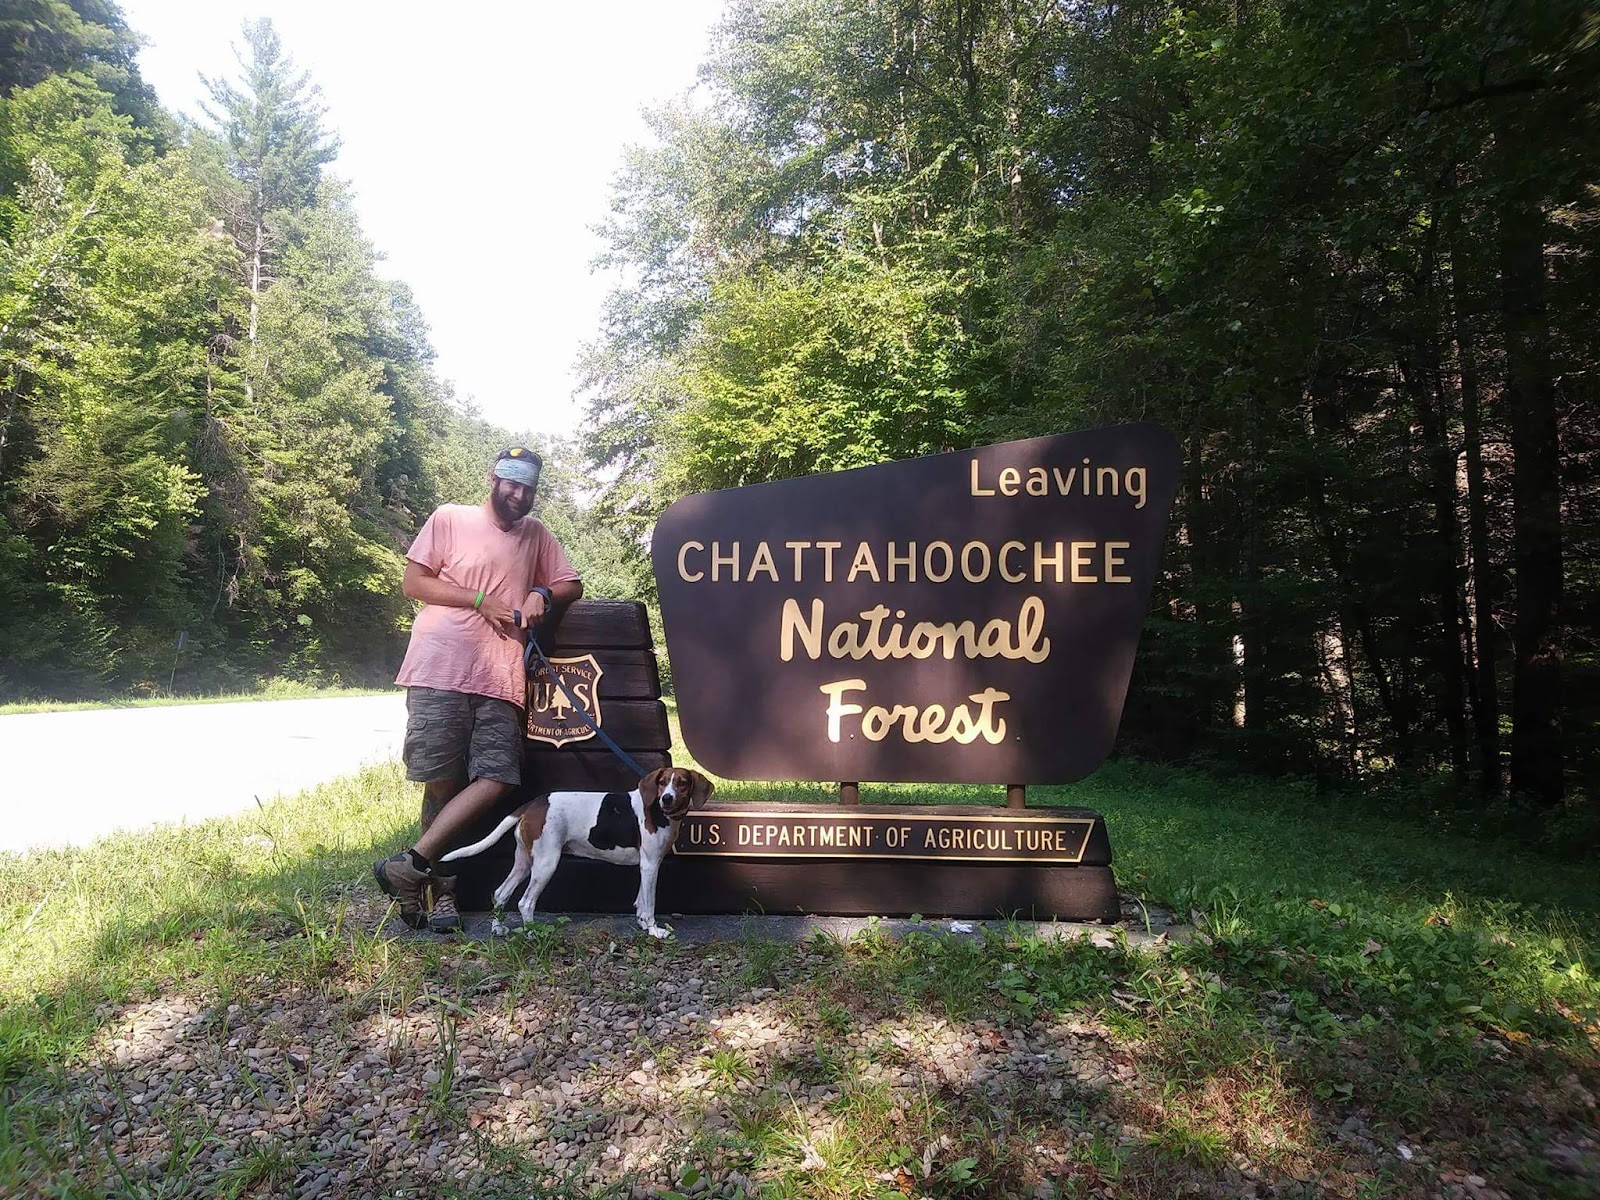
The morning was overcast and we were starting to believe we were going to miss the solar eclipse. However, at the very last moment the sun smuggled itself out of the sea of clouds just in time to see it covered by the moon. The sight took our breath away, as the daytime turned to night. The land fell quiet besides the nighttime chirps and tranquil sound of the spring near by. We put our Jeep to rest after a seven hour drive to our primitive campsite days before and we were enjoying the moment in quiet, with only our camp host and camp neighbors sharing the stillness with us. We couldn’t ask for a better moment and it was all thanks to the Forest Service and the glorious volunteers of the Chattahoochee National Forest.
I try not to be biased, but there is no denying I love the National and State Forests the most. As most will plan their trip around the National Parks we plan them around the National Forests. The State Forests have become our home, nestled in our backyard and only a few moments away. It is easy to pack our Jeep, find remote camp spots, and take our little coonhound with us to enjoy a weekend adventure. Beyond the beauty and the freedom they represent, these forest have hosted many of my “firsts”. Within the blanket of trees I had my first hike as an adult in Cherokee National Forest, my first date with Nick in Jennings State Forest, our first camping trip in Ocala National Forest, celebrated our first anniversary in Suwannee State Forest, and finally Flonne’s first overnight trip was in Chattahoochee National Forest. In other words, the forests are very special to me.
.
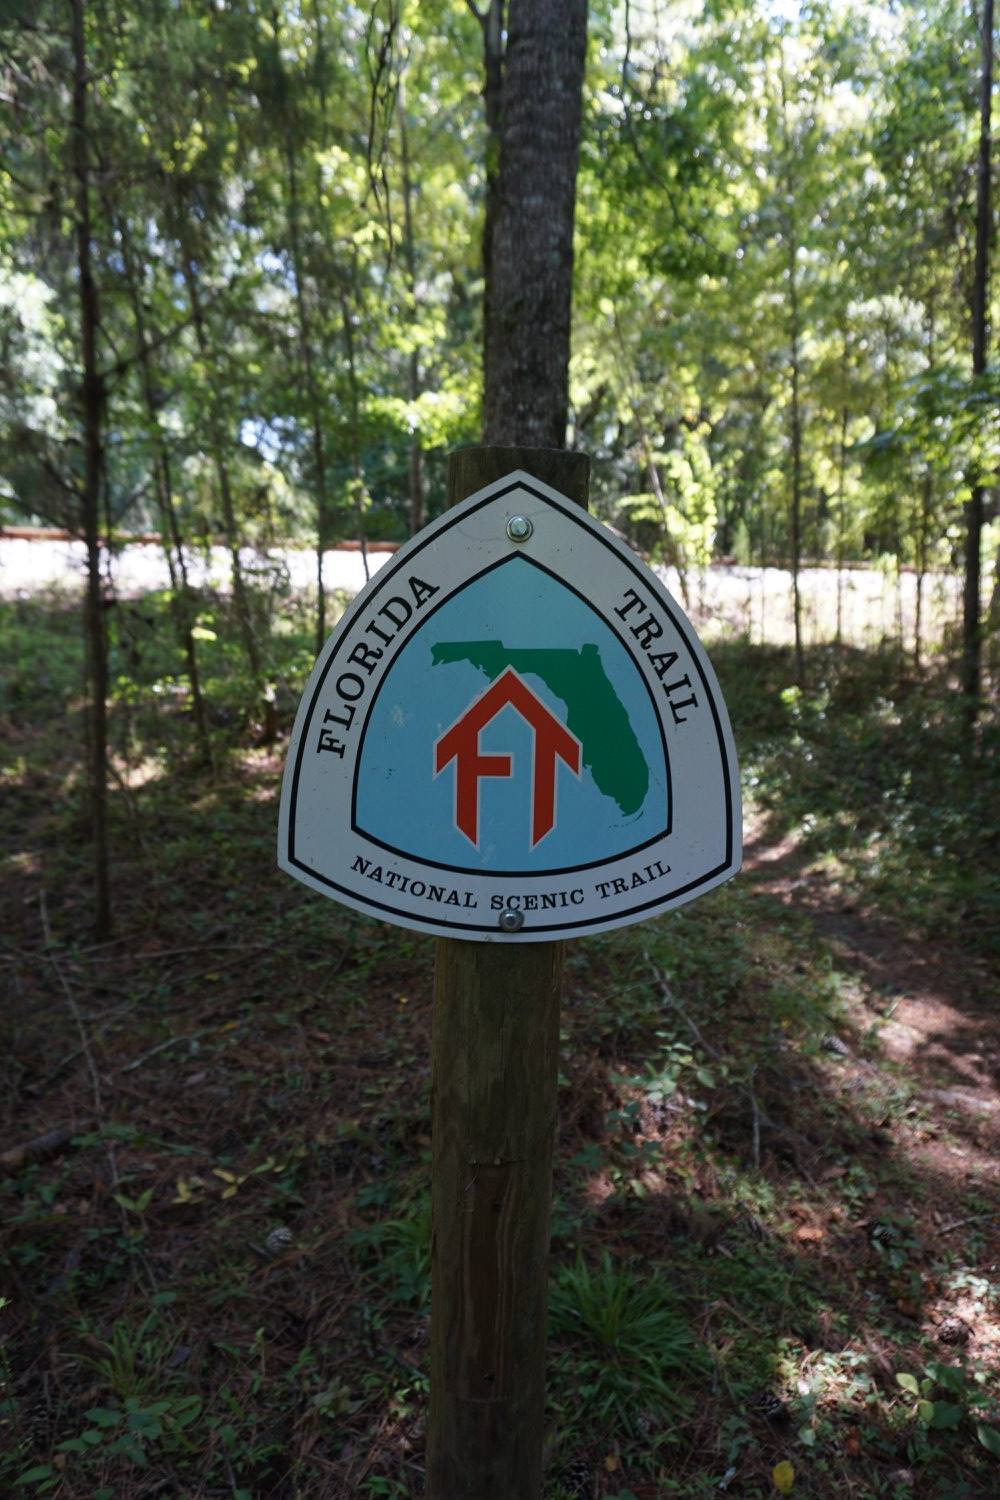
The National and State Forests differ greatly from the Park Service while keeping some of the same responsibilities. Unlike the Park Service, USDA hosts the Forest Service and takes responsibility for some of the Scenic Trails, like the Florida Trail that I love so dearly, and opens the world of the forests up to the public. The Forest Service has the added job of balancing the thin line of conservation with helping the economy with natural resources. Sadly, this can sometimes cause some negative press, but I am always amazed by the kindness and knowledge of the people that preserve our forests as best they can.
Forest Services are not only are beacons of knowledge, but also heros. They are the second most important force when it comes to preventing forest fires by educating the public on fire safety. They are also the first line of defence when it comes it comes to combating forest fires. Back in the early part of summer of 2017 the West Mims fire did it’s best to burn Osceola National Forest and the Okefenokee Nature Preserve to the ground. However, the Forest Service was there to help put out the fire along with firefighters from all over the US and Canada. I couldn’t think of a better way to give back and support my favorite places of outdoor of adventures than by helping with trail cleanups for the Florida Trail they manage, and reminding people that only you can prevent forest fires.


 Bonus: